
One of my favorite things from my raw food diet is my banana soft serve. So, I basically came up with two recipes: carob and goji berry banana soft serve and raw carob no-bake cookies. Both recipes turned out really super well, better than I could have dreamed. Together, these recipes turned out to be one incredible ice cream sandwich. On a side note, these are doggie friendly. Zuki was very happy to find this out as she nommed away at the bite I gave her.
You have to make the cookie first, let it sit in the fridge or freezer to firm up. Oddly, it take about 15 minutes for it to firm up in the freezer, and 15 minutes for the bananas to thaw out a bit from being frozen. Perfect timing, in my humble opinion.
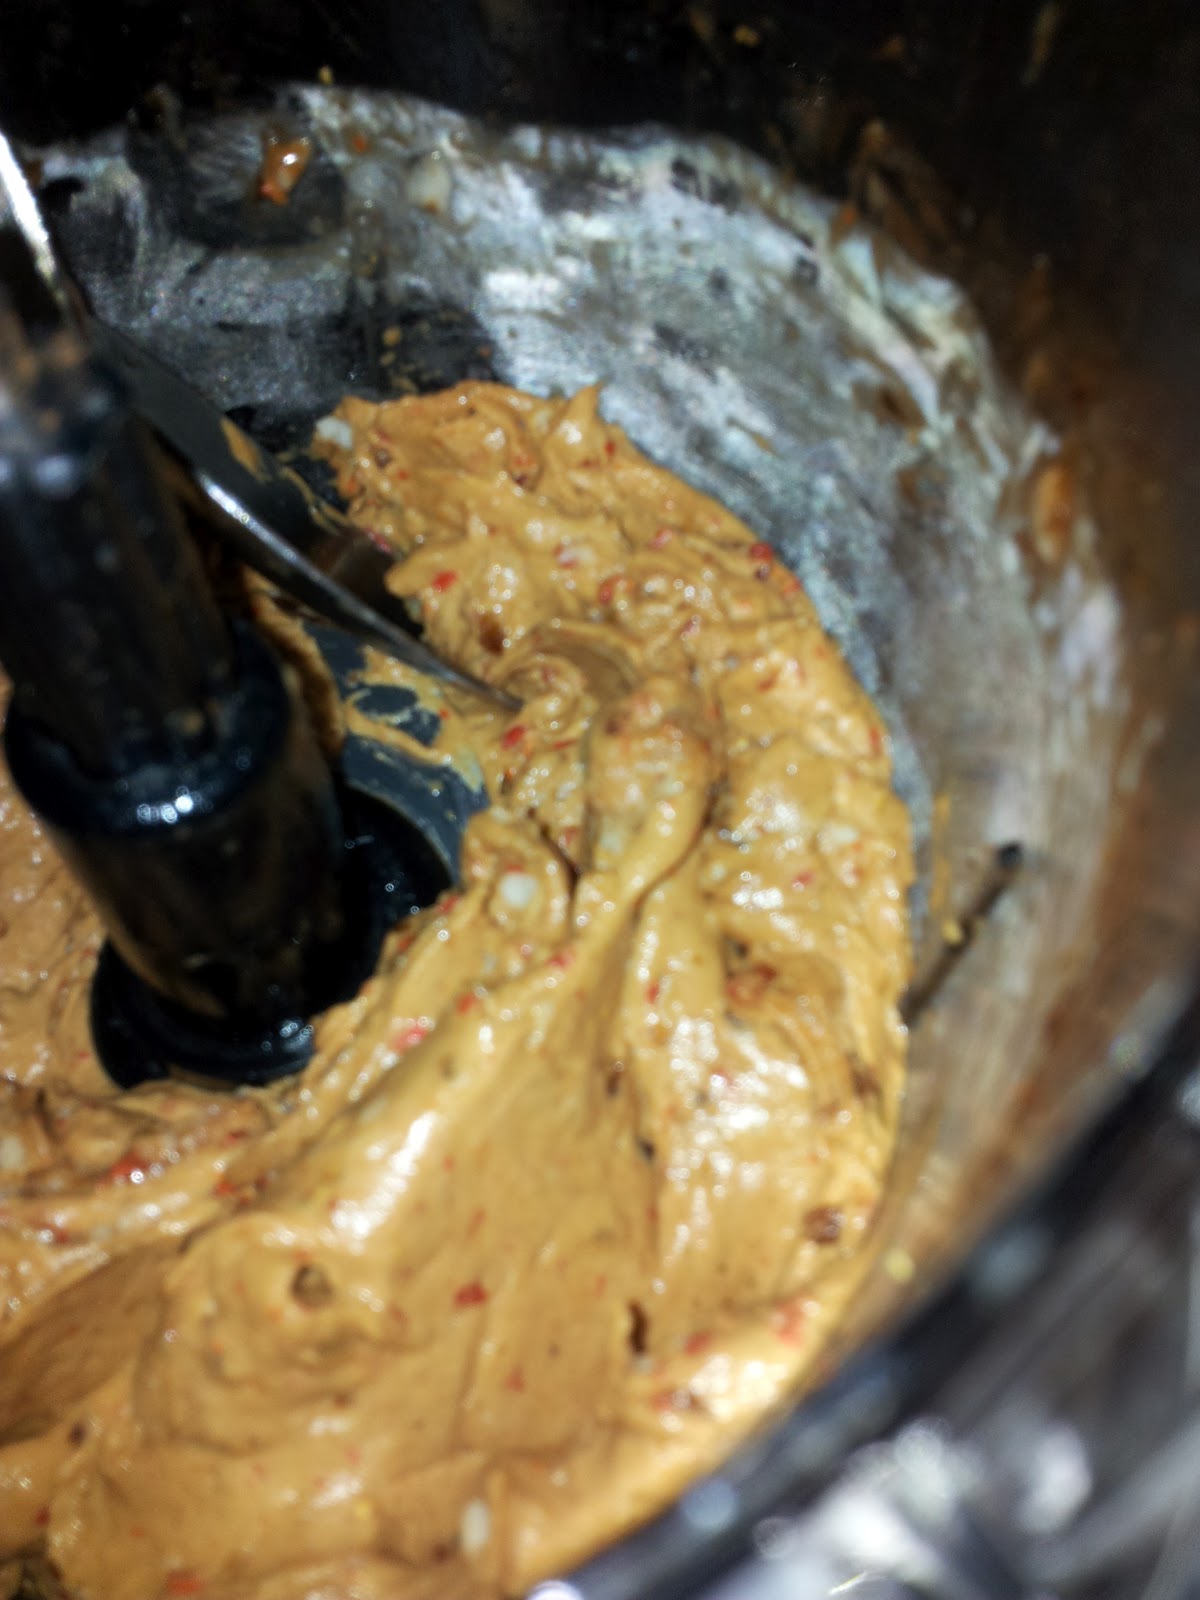
Raw Carob No-Bake Cookie
Ingredients:
13 Medjool dates
1 c. raw sun-dried mulberries + 1/3 c. for crust
1 Tbsp. raw carob powder
Directions:
1. Add 1/3 c. of the mulberries into a food processor. Process until it is in inidivdual berry kernels. Add to a bowl or plate.
2. In the same food processor, add remaining mulberries, dates, and carob powder. Pulse until well combined.
3. Pinch off pieces of the cookie, and form into flat disks.
4. Press one side into the mulberries on the plate to form a crust on the outside of the cookie.
5. Repeat until all cookie dough is gone.
6. Set in the freezer for 15 minutes or in the fridge for 30 minutes.

Onward to the banana soft serve yumminess!
Carob and Goji Berry Banana Soft Serve
Ingredients:
2 frozen bananas
2 tsp. raw carob powder
1-2 Tbsp. goji berries
2 Medjool dates
Directions:
1. Set bananas out and let thaw for 15 minutes.
2. Add the bananas, carob powder, goji berries, and dates to a food processor.
3. Pulse until well combined and smooth.
And now for the combining of the two.
Raw Carob No-Bake Cookie Sandwiches
Ingredients:
One batch of Raw Carob No-Bake Cookies
One batch of Carob and Goji Berry Banana Soft Serve
Directions:
1. Take chilled cookies out of the fridge or freezer.
2. Spread about 2-3 Tbsp. of the banana soft serve on top of one of the cookies (crust side down).
3. Top with another cookie.
4. Do this until there are no cookies remaining. Chow down!
Part of the inspiration to play today is that I am entering a contest. It is the FullyRaw Kristina Recipe Contest. It is through Facebook, and I will be posting a link on there. If you get a minute, vote for me!


